From Glass To Glasses- How Our Onsite Lab Functions
This article details how Debbie’s onsite lab functions. Have you ever thought about how Opticians make your glasses? Probably not! This article will show you that there is much more than meets the eye involved in the process of turning glass discs into powerful lenses that sit on your face. We make it look so easy, but behind the scenes everything is run on air. Air compressors all have to be at the right levels for each machine and calibrated regularly.
Surfacing
Surfacing is how the prescription is placed on a lens before it is cut down to size. Debbie Mozelle’s state-of-the-art facilities give us the unique ability to do this procedure in-house. There are four main steps; blank section, generation, finishing & polishing and hard coating.
Step 1 – Blank Section
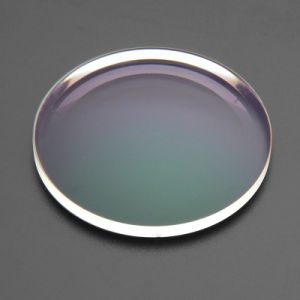
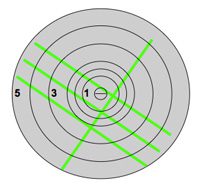
All glasses begin as hockey puck-sized pieces of glass called a blank. The blank has an unchangeable base curve and lens material; however, more or less strength can be added in further steps. A nomogram tells technicians which blank to start with for each pair of glasses.
Step #2 – Generation
Generation is when the prescription is ground into the back of the blank by a generator. However, before the lens gets to the generator, a few safety precautions are necessary. The state-of-the-art lensometer finds the center of the blank, then a block of wax is attached that will hold the lens in place inside the generator. The generator does not affect the base curve. So the lens prescription is now the strength of the base curve plus the generated curve.
Step 3 – Finishing and Polishing
After generation, lenses come out rough and frosted looking; not ideal for glasses, which glasses-wearers know to be transparent! So, the lenses go through a series of cleaning techniques after generation. First, lenses enter the finer, where a polishing block similar to sandpaper, called a lap, is used. The lap goes in circles against the fining pad. The lap polishes the roughest parts of the lens. This process is repeated twice, the fining pads becoming softer each time. Finally, the lens is polished with albumin oxide to give it that crystal clear look.
Step 4 – Hard Coating
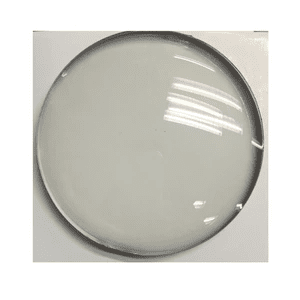
Hard-coating is where we remove the block from Generation and add a stretch protectant coating to the vulnerable lens. This solution is toxic in its raw form, but it loses that quality after being cured with UV light.

Finishing
After the lens is created, it needs to be mounted on the frame. This is called finishing and has three steps; edging, mounting and inspection & dispension.
Step 1 – Edging
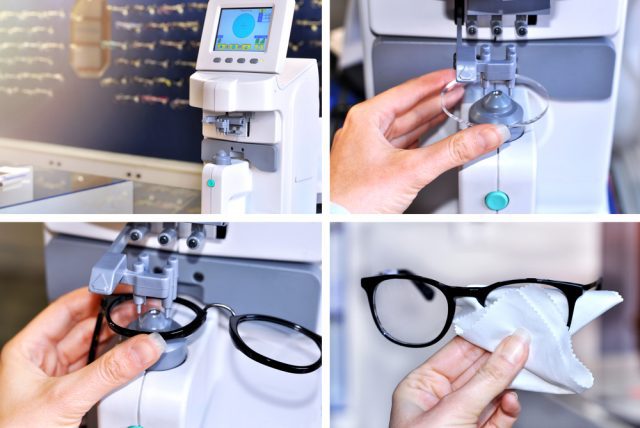
Edging is the process of cutting the lens into the right shape. First, a pattern or tracer is used to determine the proper shape of the frame. A pattern is like a sewing pattern; it is premade and can be sent straight to the edge if necessary. A tracer is another innovative machine where the frames are placed in and scanned, then that scan is sent to the edger. An edger is a machine that uses a dime grinding wheel to cut the lens into shape. It is held in place by blocking pads and doused in water to ensure the lens stays cool and in the correct form. After the edger does its work, the pads are then removed.
Step 2 – Mounting
Mounting is very simple; it is the process of inserting the newly formed lenses onto the frame.Step 3- Inspection and Dispensation Last but not least, the optician checks the glasses over. They are looking for starches, proper placement, and they ensure there are no gaps. Finally, the lenses are given to you, the customer.


Overview
Have any more questions about our state-of-the-art lab? Come into either of our locations to speak with the Optician directly; we would be delighted to answer any questions you may have.
Written by MWP Staff: Isabella Harmel
Sources:
Optical Lab Knowledge for the Non-Lab Optician
